Engineering Tasks
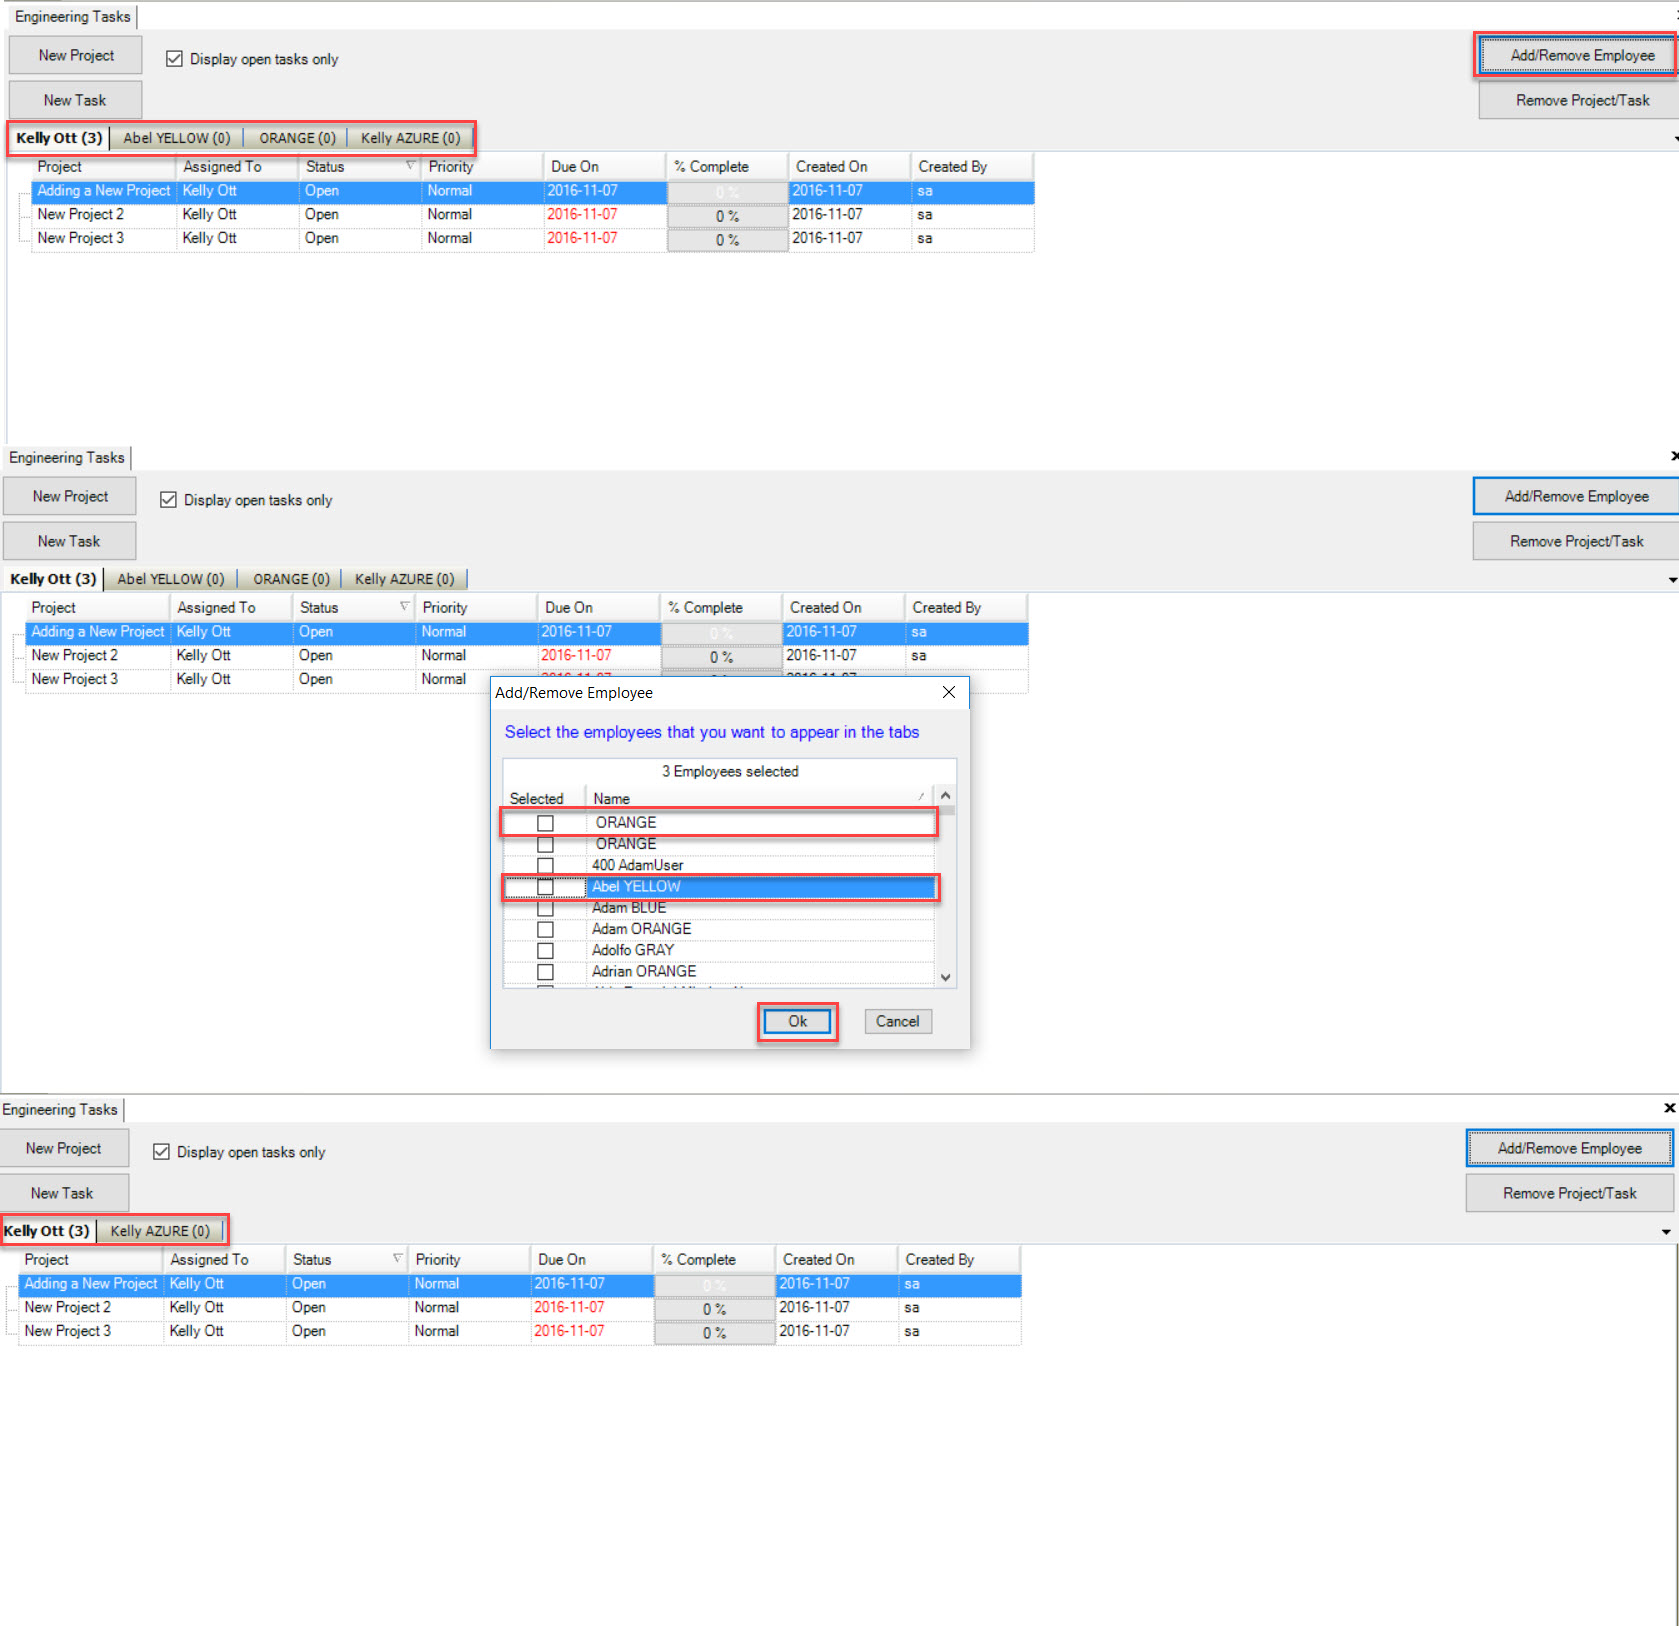
Engineering Tasks is used to add or remove new Projects and Tasks as well as Employees. It displays the Name of the Project, who it is Assigned To, the Status, Priority, Due On date, % of Completion, the Created On date, and who it was Created By.
Adding a New Project
To add a new Project, navigate to the  tab, and click on the
  icon.
The Engineering Tasks screen will be displayed.
To add a new Project, click on the  button. This will open the New Project window.
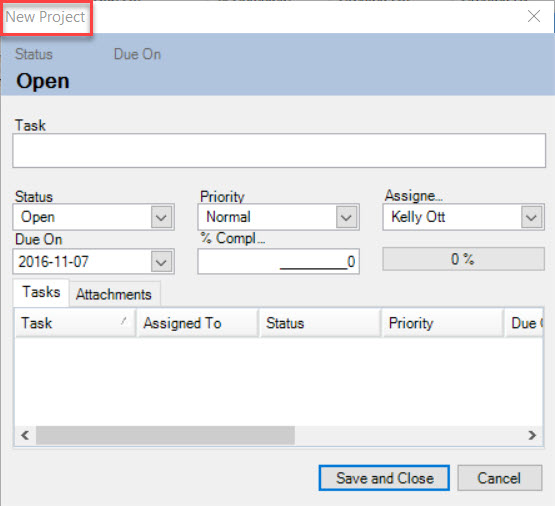
Fill in all necessary fields and click the  button.
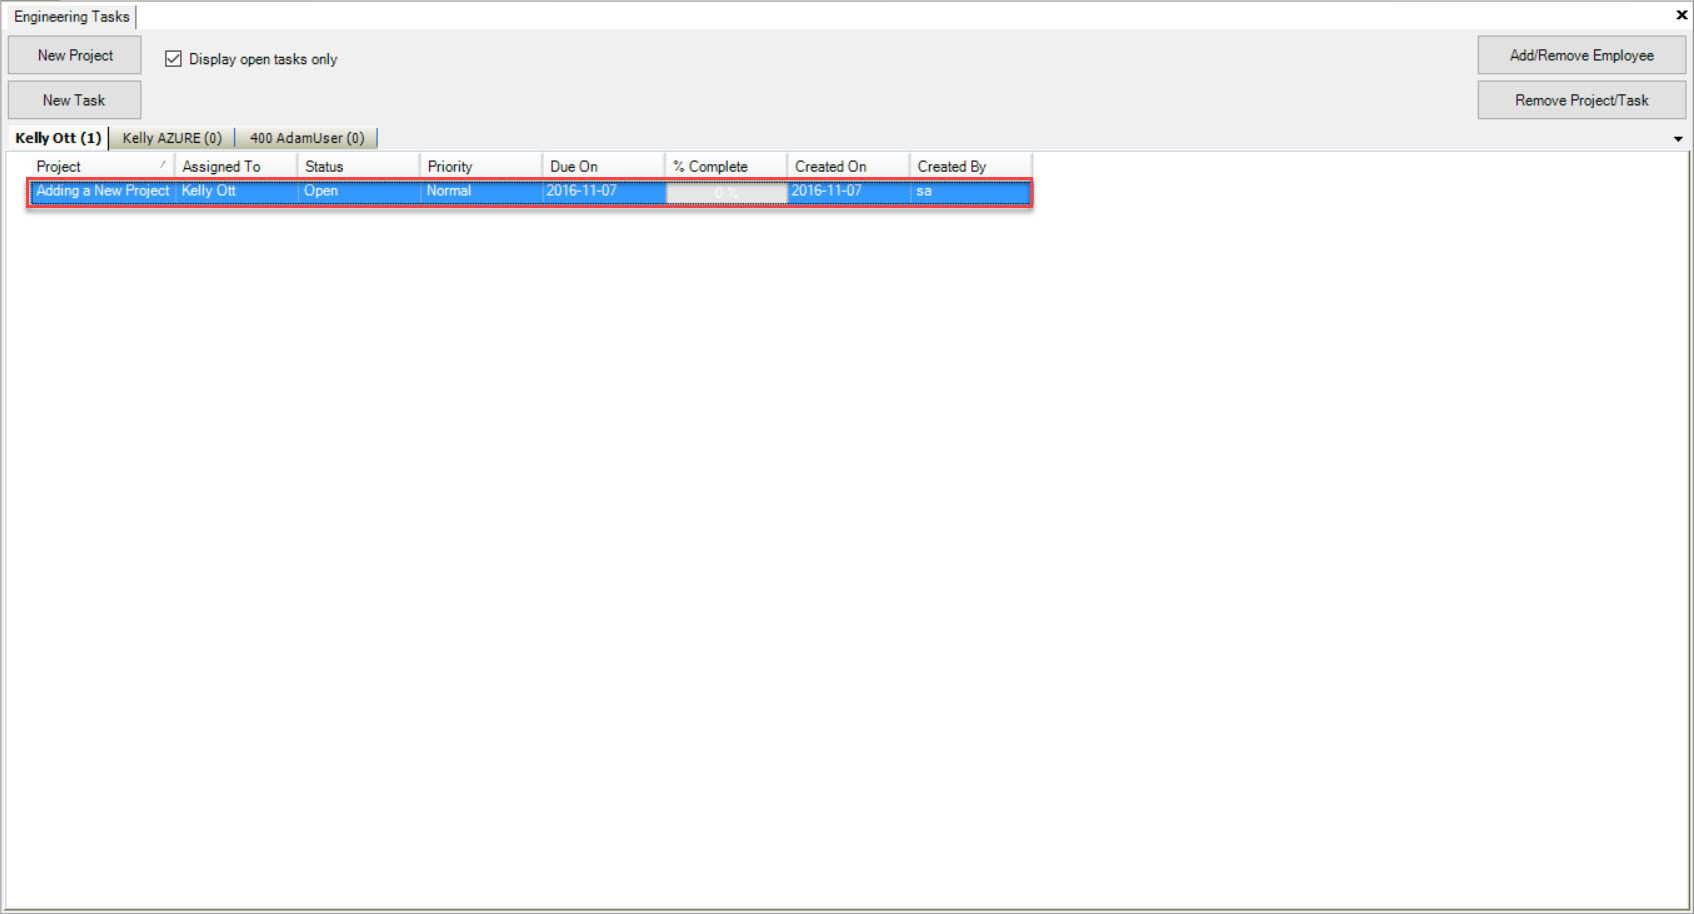
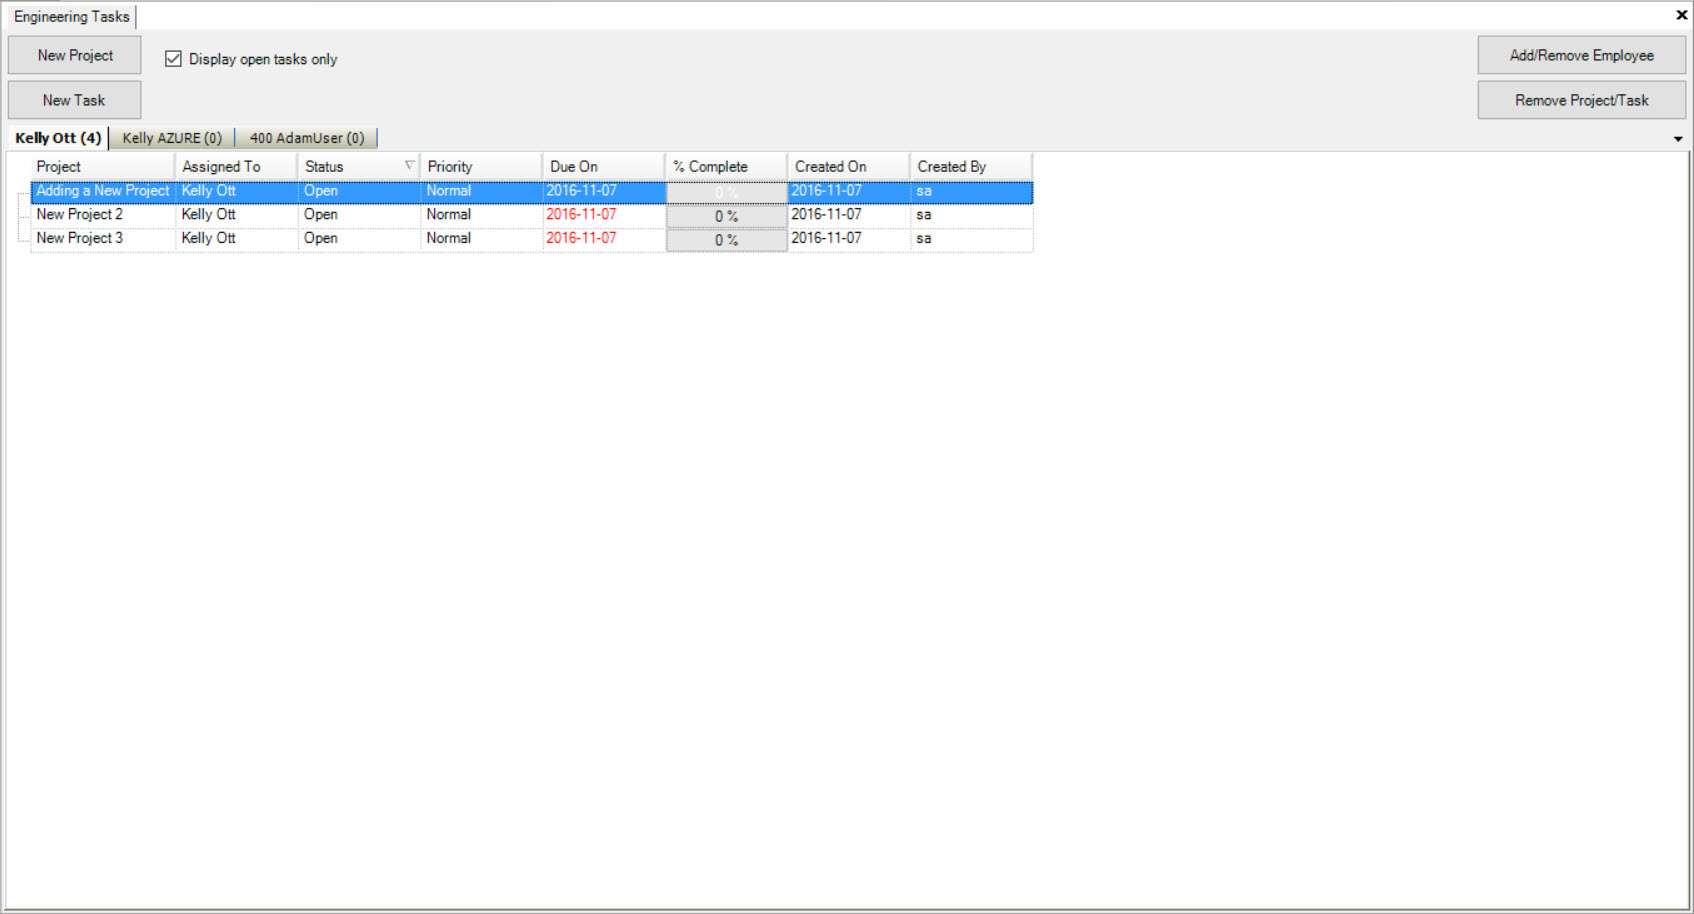
Your new Project will be displayed under the Project column on the Engineering Tasks screen.
Deleting a Project
To delete a Project, naviagte to the  tab, and click on the
  icon.
The Engineering Tasks screen will be displayed.
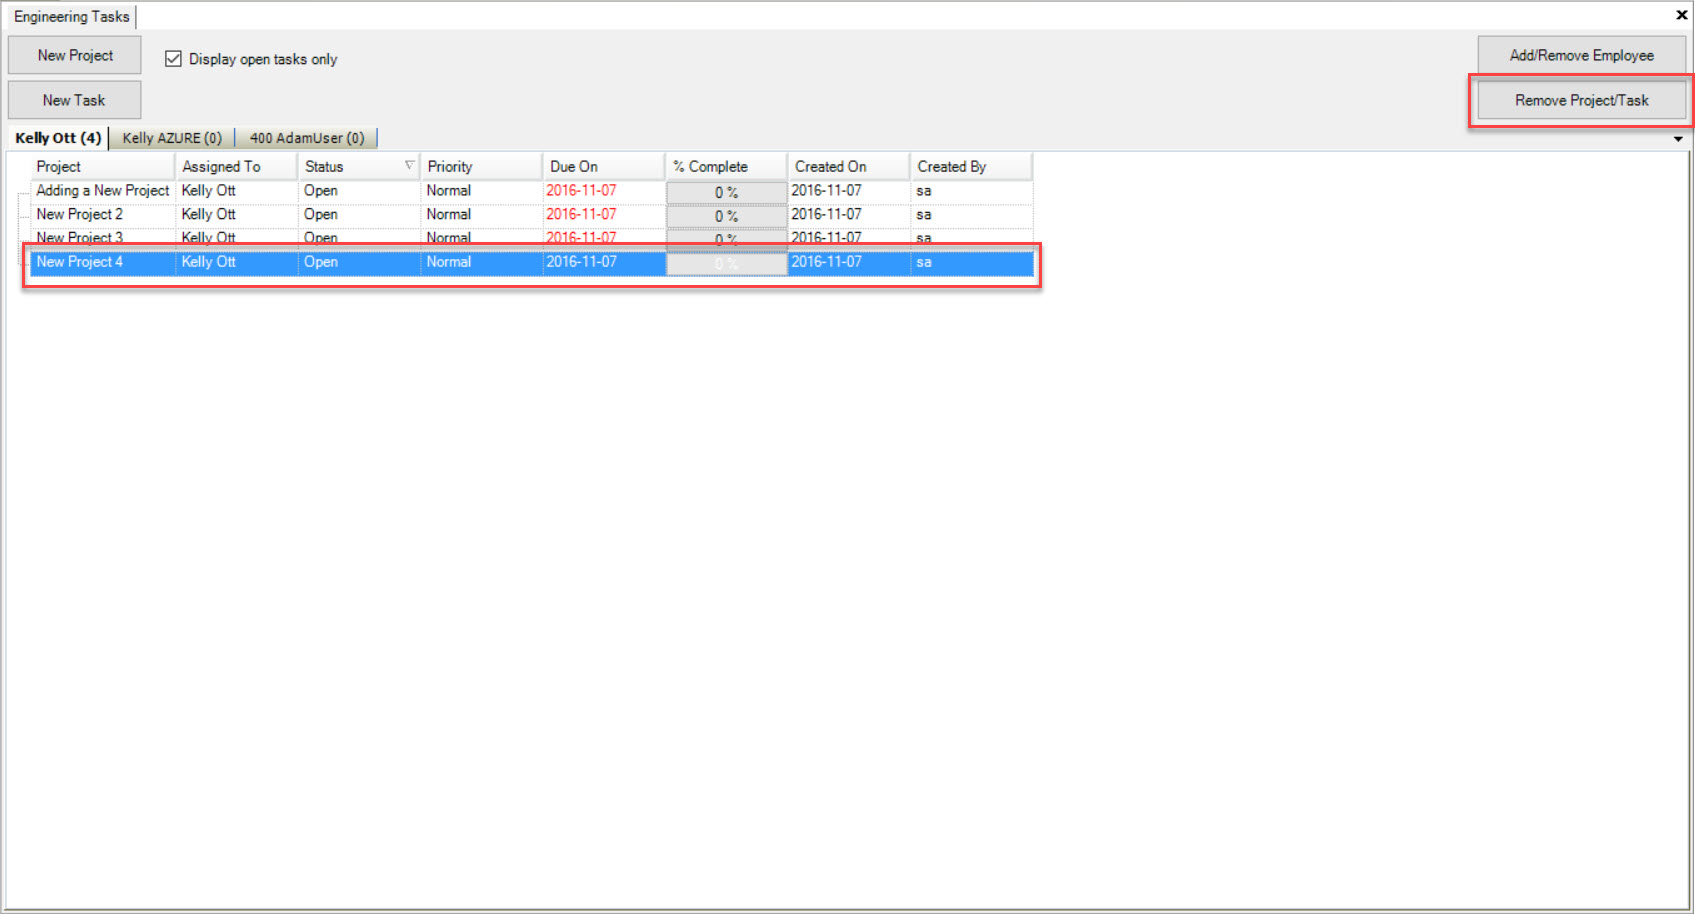
Locate the Project you wish to delete and highlight the appropriate row. Click on the  and the highlighter row should be removed immediately.
Adding a New Task
To add a new Engineering Task, navigate to the  tab, and click on the
  icon.
The ShopEdge system will bring up the Engineering Tasks screen.
To add a new Task, you must first select a Project from the Engineering Tasks screen by highlighting the appropriate row.
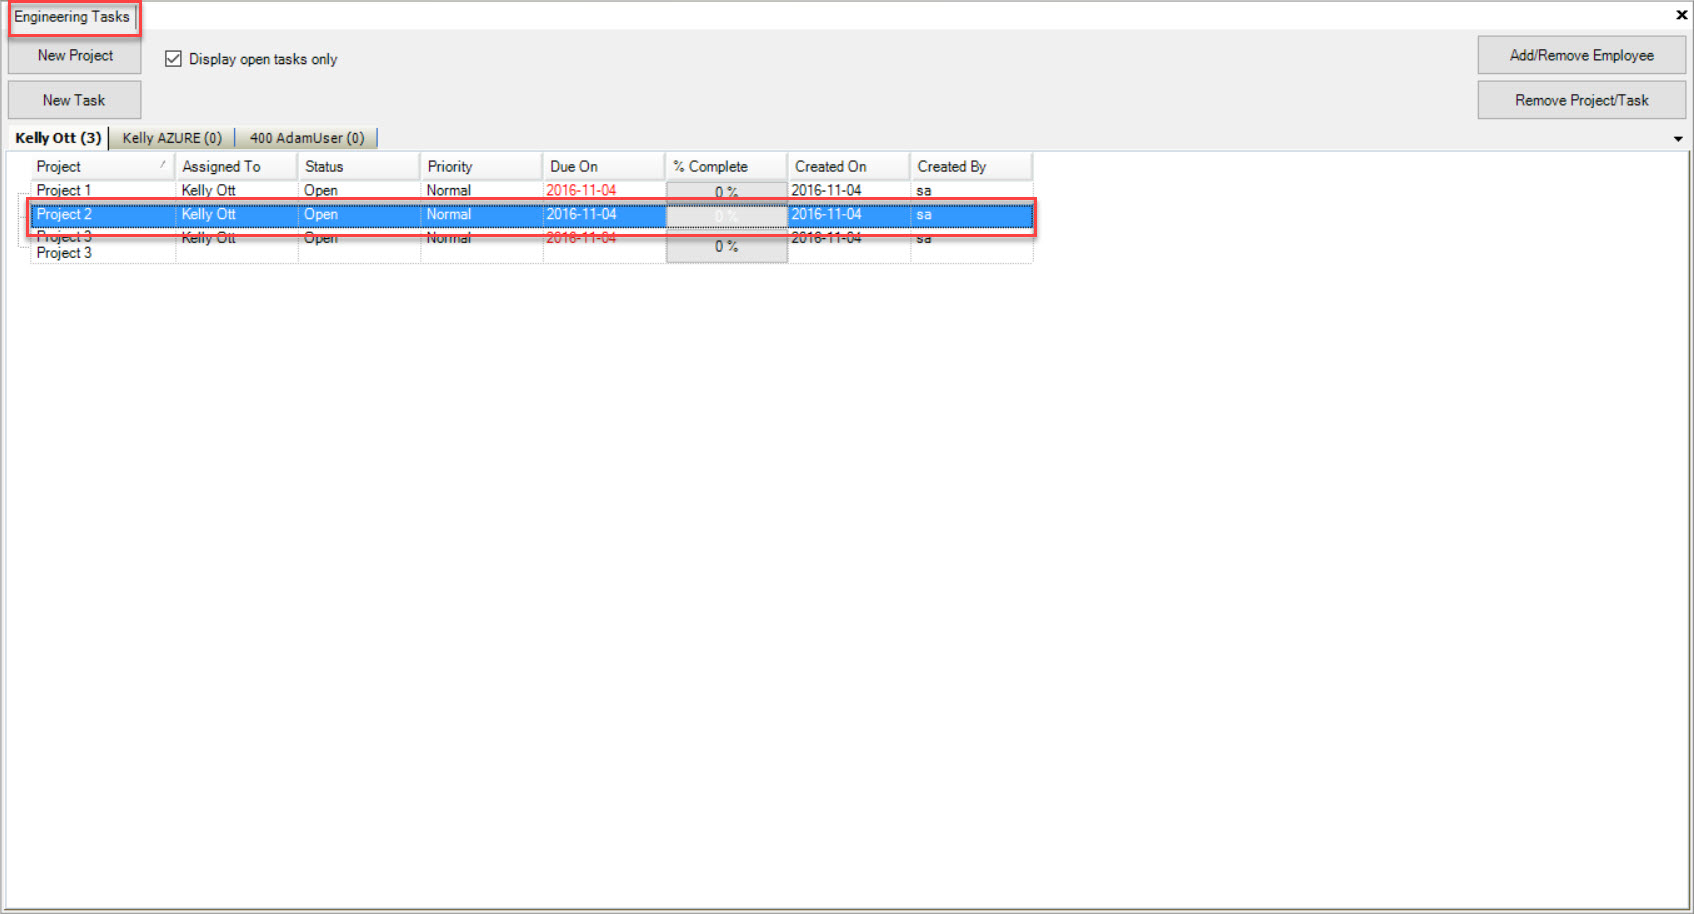
Once you have selected a Project, click on the  button. This will open the New Task window.
Fill out the necessary fields and click the  button.
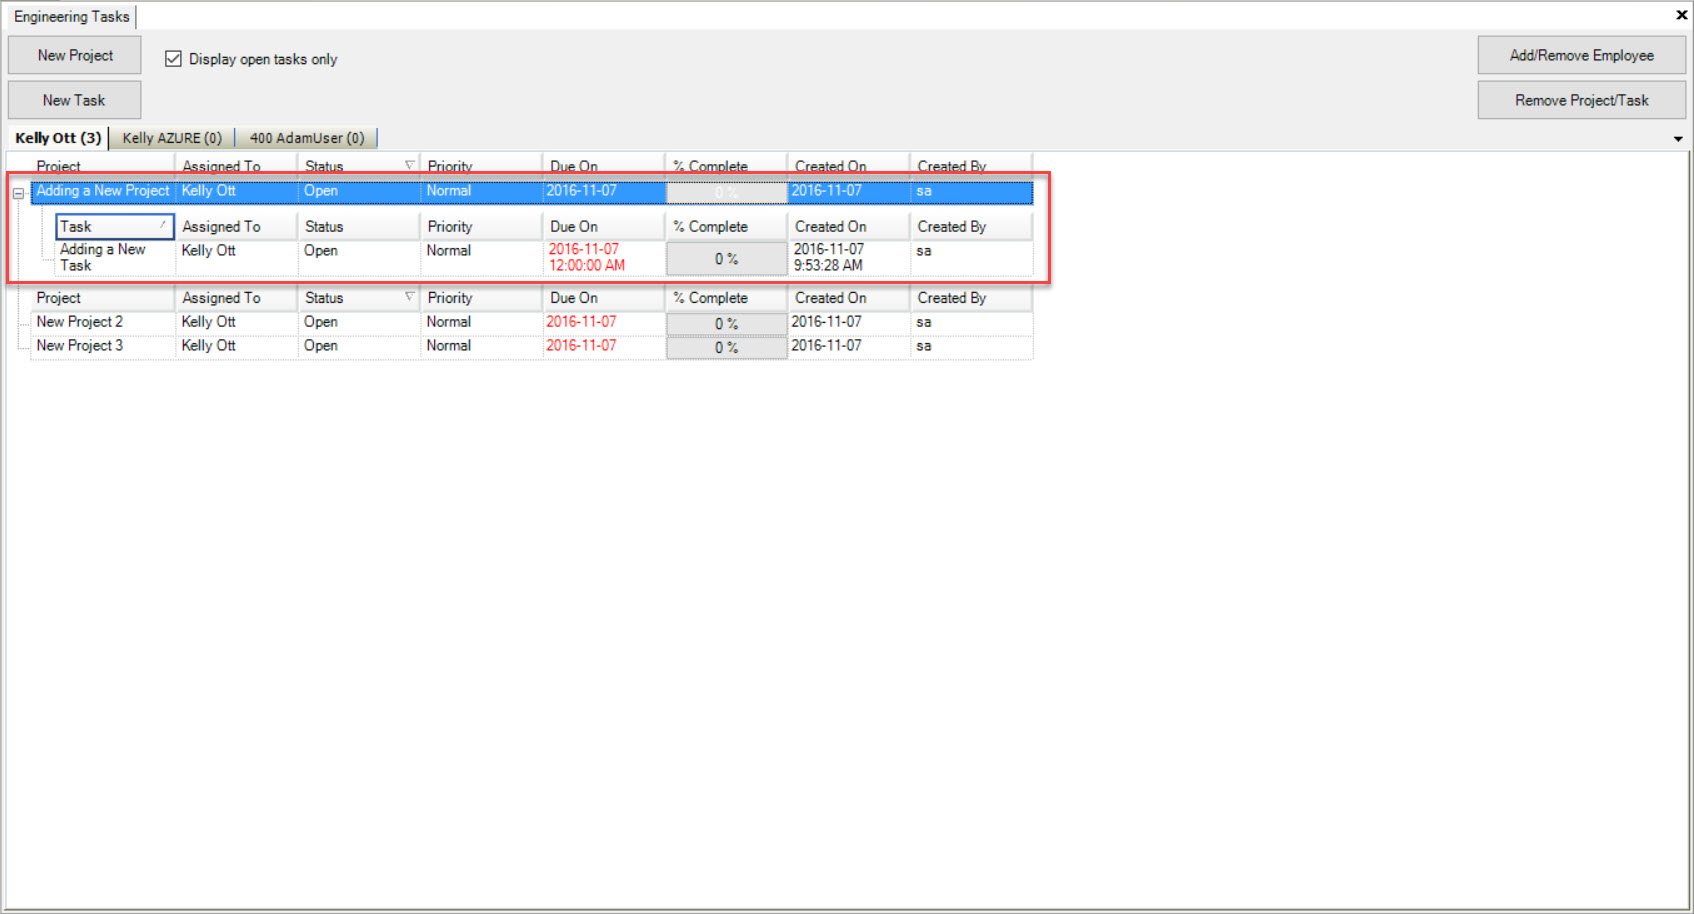
You will now have the ability to click on the  button to view the new or existing Tasks for a Project.
Deleting a Task
To delete a Task from a Project, naviagte to the  tab, and click on the
  icon.
The Engineering Tasks screen will be displayed.
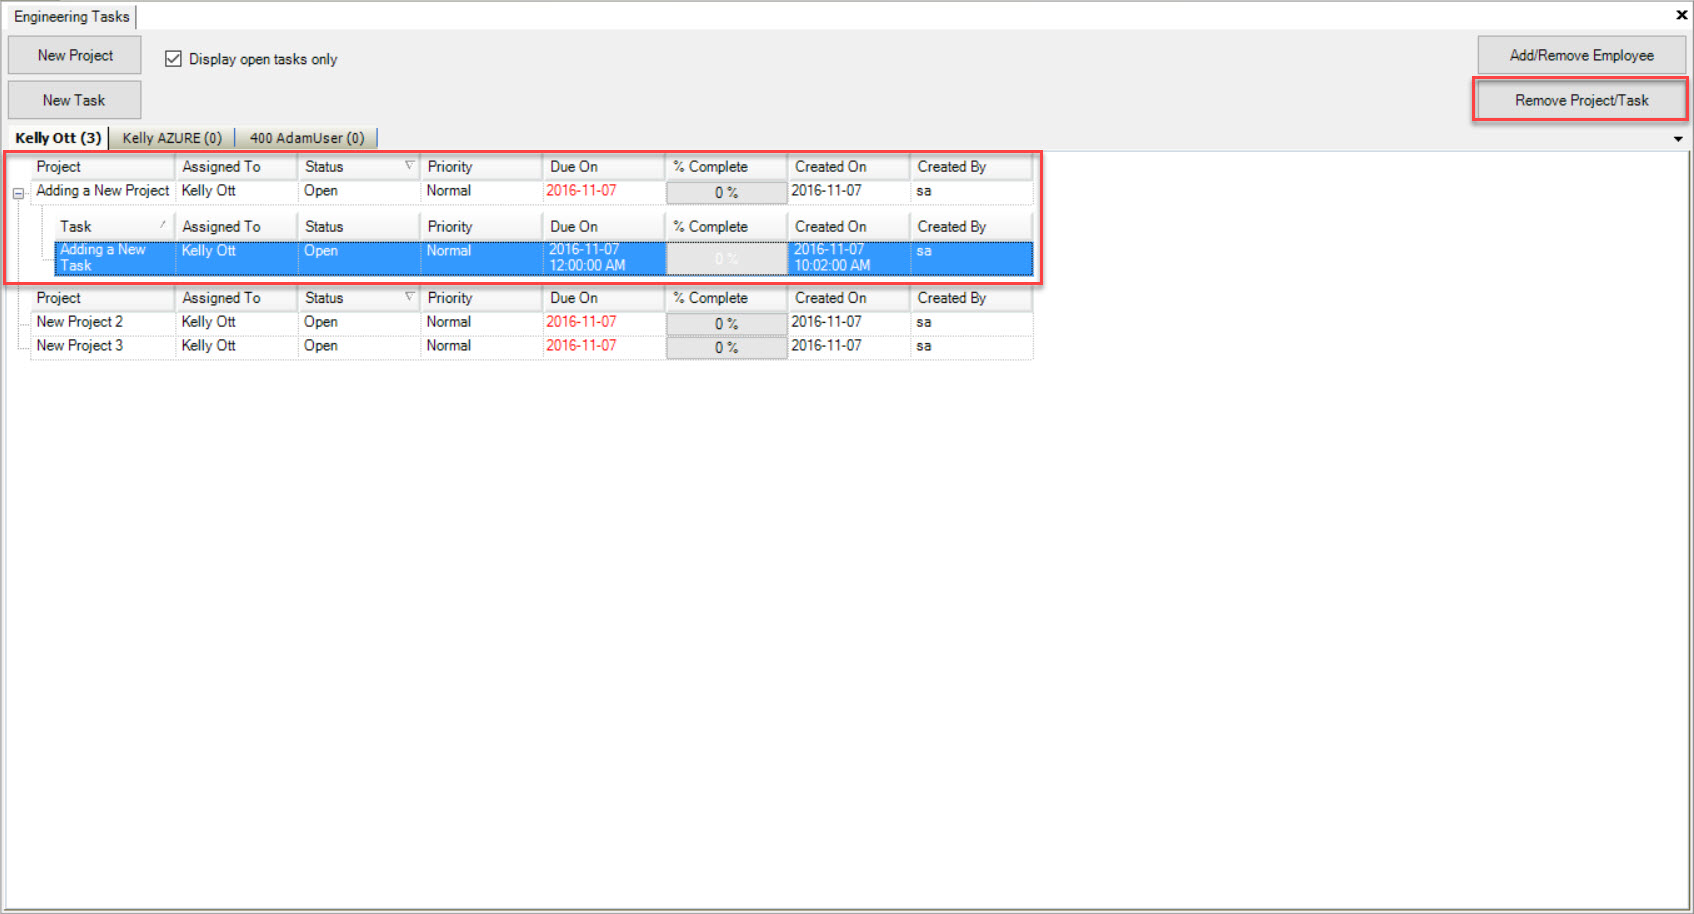
Locate the Project you wish to delete a Task from and click the  button. Then locate the Task you wish to delete
and highlight the appropriate row. Click on the
  button. The selected Task will be removed immediately.
Adding an Employee
To add a new Employee, navigate to the  tab, and click on the
  icon.
The ShopEdge system will bring up the Engineering Tasks screen.
Click on the  button. The Add/Remove Employee window will be displayed.
Select the Employee(s) that you wish to appear in the tabs on the Engineering Tasks screen.
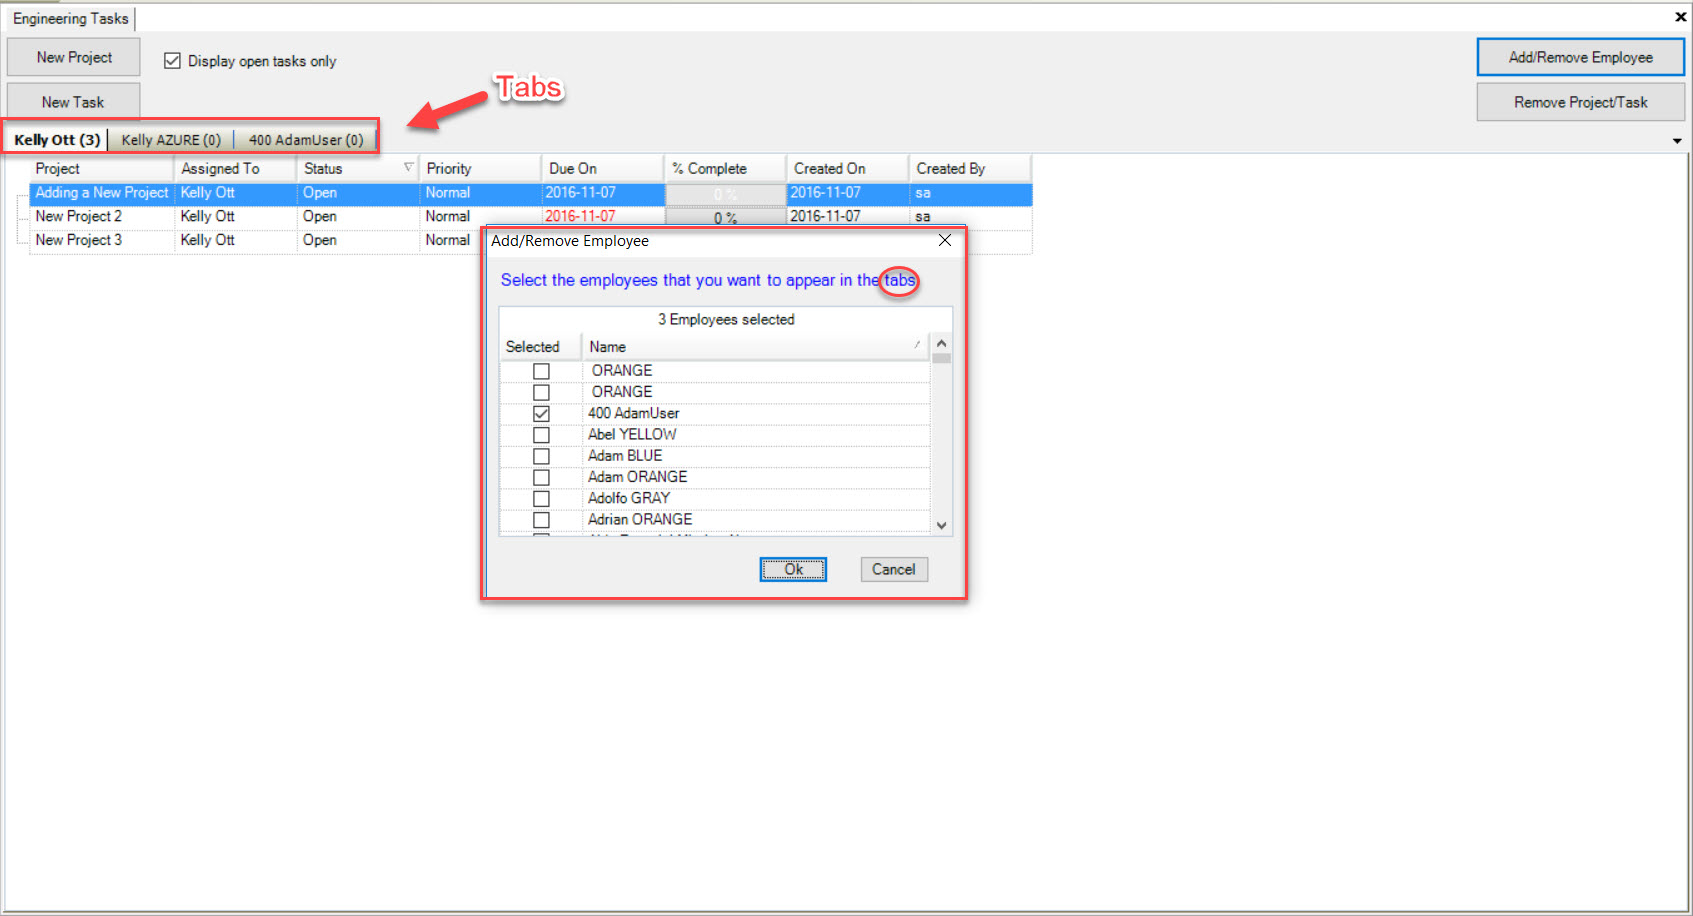
After you have selected the Employee(s), click the  button and they will then be displayed in the tabs.
Deleting an Employee
To add an Employee, navigate to the  tab, and click on the
  icon.
The ShopEdge system will bring up the Engineering Tasks screen.
Click on the  button. The Add/Remove Employee window will be displayed.
De-select the Employee(s) you wish to remove from the tabs and click the  button.
